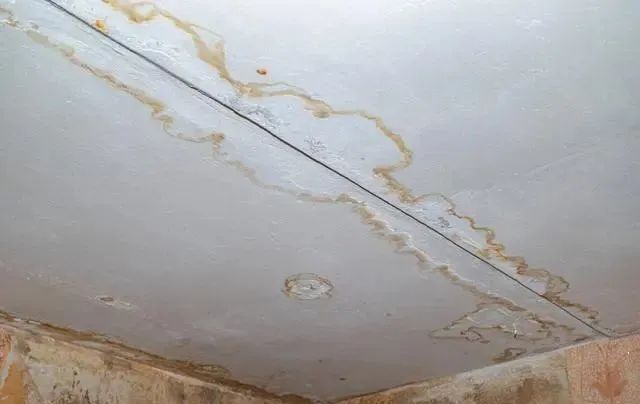
Dealing with House Leaks: DIY Inspection for Quick Solutions!

Step 1: Check the Building Structure
Locate cracks and water stains, address any defects in the building structure, and reapply waterproofing.
Step 2: Detect Water Leaks in Water Pipes
Turn off water usage, observe changes in the water meter reading, check for leaks in the internal walls, and replace pipes if necessary.
Step 3: Detect Drainage Pipe Leaks
Close the water valve, ensure dryness, flush the floor drain with a water pipe, and observe if there is any leakage downstairs.
Step 4: Deal with Sewage Pipe Leaks
If the water leakage is not severe, lift the floor tiles, seal the leaks, conduct a water-tight test, and if necessary, have a professional replace the sewage pipe.
Step 5: Floor Drain Leakage Detection
Seal the floor drain, conduct a water test, and observe if there is any worsening of leakage downstairs.
Step 6: Floor Drain Leakage Treatment
Use leak-sealing products and waterproof coatings around the floor drain's concrete. If needed, undertake a large-scale reapplication of waterproofing.
Step 7: Waterproof Layer Leakage Detection
Close the main valve, drain the pipes, conduct a water-tight test upstairs, and observe if there is any leakage downstairs. If the waterproof layer is leaking, repair the damaged waterproof layer.
By following these steps, you can self-inspect and address water leakage issues in your home, implementing targeted solutions. Protect your house from the inconvenience of water leaks and create a dry and comfortable living environment!


