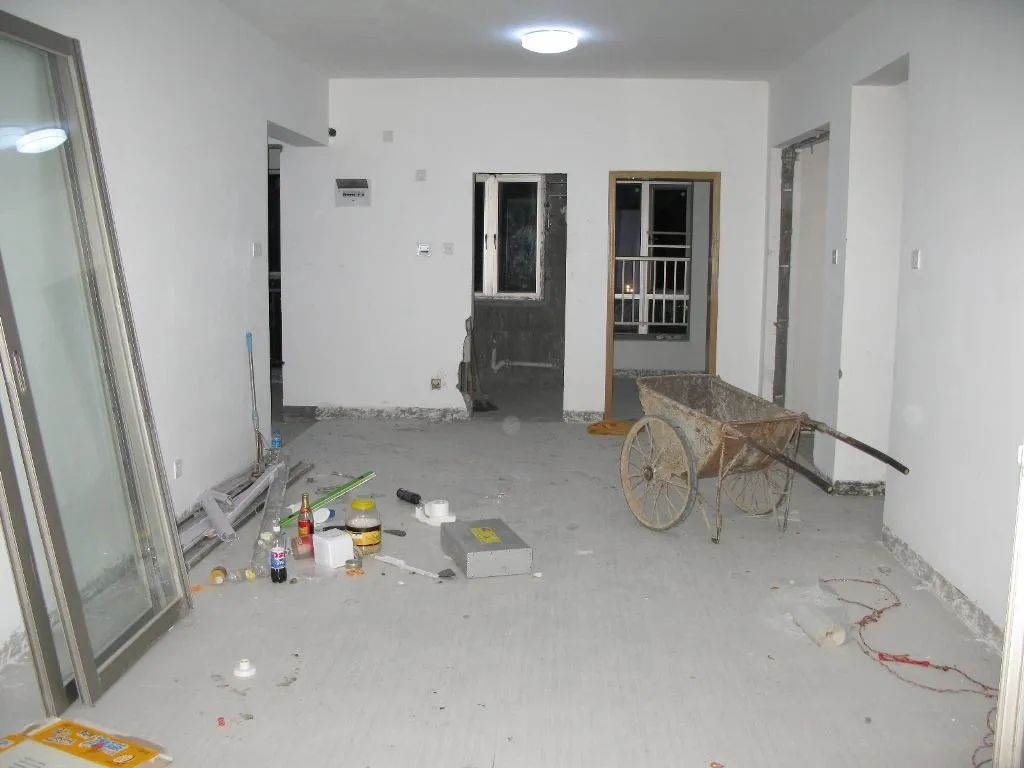
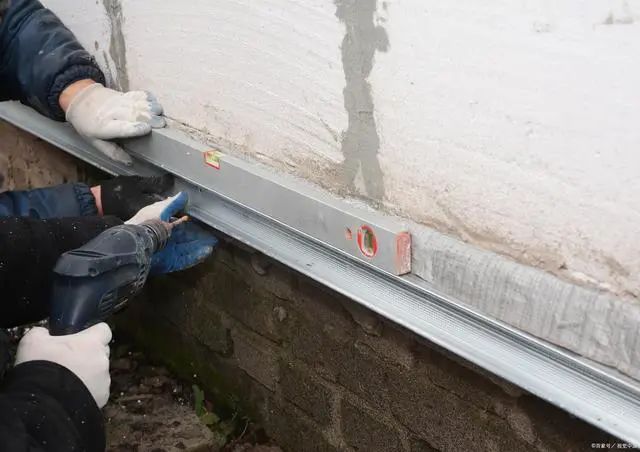
Creating a more comfortable living environment on the original structure is the aim of renovating old houses. However, renovating an old house is more complicated than renovating a new one, and waterproofing in particular should not be underestimated.

Why waterproofing is crucial when renovating old houses:
Old houses were built in an earlier era, and the construction techniques and quality standards of that time are very different from the standards of today. Long-term exposure to the elements and lack of maintenance has caused external waterproofing to flake off, exposing cement mortar layers and creating fine cracks allowing rainwater to seep into the interior.
In addition, the layout of the pipes in older homes is usually not as organized as it is in new homes, making them susceptible to interference between different pipes and leading to problems such as leaks.
Unlike the renovation of new houses, the renovation of old houses requires demolition and alterations. Vibrations caused by the removal of decorative tiles from walls and floors can potentially damage the original structural elements, especially in rooms with lightweight block partitions such as kitchens and bathrooms, resulting in overall cracks or cracks at specific angles. This disrupts the continuity of the spatial structure and affects the overall stability.
Furthermore, the demolition process can have a destabilizing effect on the structural base. If not handled properly, problems such as delamination or cracking of the waterproofing layer may occur, resulting in water leakage or detachment of decorative tiles. Therefore, it is necessary to apply a mesh plaster to level the structural surface after removal to prevent such problems.

The process of effective waterproofing:
Before applying the waterproofing layer, it is usually necessary to reinforce the walls and floors with an interface agent. This ensures a good bond between the entire waterproofing layer and the walls.
The next step is to reinforce the details. This includes areas around pipes penetrating the floor slabs, corners, and floor drains. A combination of protective measures, such as a leak stopper and a mesh fabric, should be applied to these areas. Once the waterproofing of these details has been completed, an inspection will be required.
Once the inspection has been passed, the main waterproofing work can proceed. According to the specifications, the thickness of the waterproofing layer on the walls should be no less than 1.2 millimeters, and the thickness of the waterproofing layer on the floor should be no less than 1.5 millimeters. The height of the watertight layer should be at least 180 cm for shower walls and at least 30 cm for non-shower walls.
Finally, a 24-hour water tightness test is carried out by sealing the kitchen and bathroom entrances and drains, pouring water on the floor to a depth of at least 20 millimeters, and observing for any signs of leakage in the rooms immediately below, outside the kitchen and bathroom and in adjacent rooms. If no leak is detected, sealing is considered successful.
Once waterproofing is complete, it is important to protect the waterproofing layer to prevent damage during subsequent construction that could compromise waterproofing effectiveness.
Waterproofing is essential to creating a safe and comfortable living environment, whether renovating an old house or building a new one.


