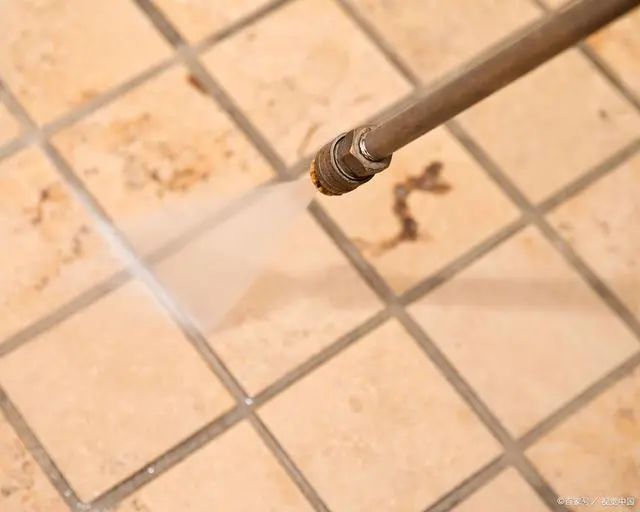
Grouting is essential to the tile installation process, and its importance cannot be overstated. However, were you aware of the many benefits of cleaning the joints before grouting?

Improved aesthetic appeal: Cleaning the joints ensures the tile joints' cleanliness, which directly impacts the final grouting result. Suppose there is dust or dirt in the tile joints. In this case, the grout applied during the process may adhere to these particles, hindering its ability to bond firmly to the tile joints, thereby affecting the durability of the grout.
Improved adhesion and durability: Cleaning tile joints removes dust, debris and grout residue, ensuring a solid bond between the grout and tile joints. Poorly cleaned or shallow tile joints can result in uneven or pockmarked surfaces after the grout has set, potentially reducing the life of the grout.
So, how should we go about cleaning the tile grout? ![]()
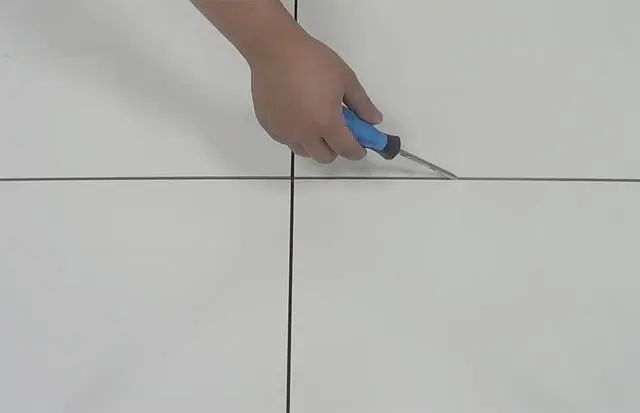
Use a grout scraper or other suitable cleaning tool to remove dust and debris from the tile joints. Do not allow the scraper to come into contact with the tile surface. For grouted tiles, ensure a cleaning depth of at least 3mm; for ungrouted tiles, try to clean deep into the tile.

Gently brush the removed dust and debris out of the grout, not pushing it back into the grout. Use a vacuum cleaner to clean the tile grout thoroughly. Start by vacuuming the joints carefully, then repeat the process several times to remove all the dust inside the tiles.

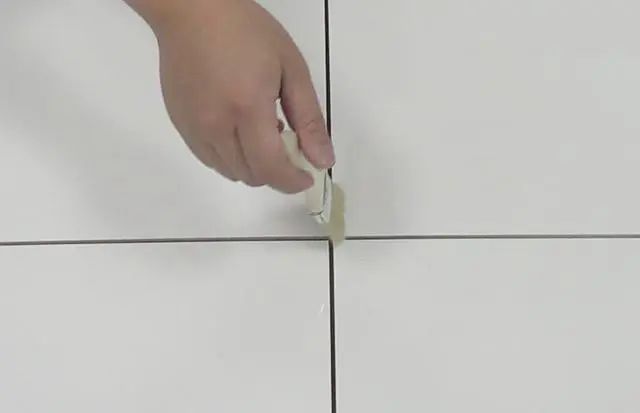
Finally, use a slightly damp cloth or sponge to wipe the tile joints and surrounding areas to ensure they are free of dust and dirt.
By following these cleaning procedures, you can ensure the cleanliness of the tile joints and lay a firm foundation for subsequent grouting.


