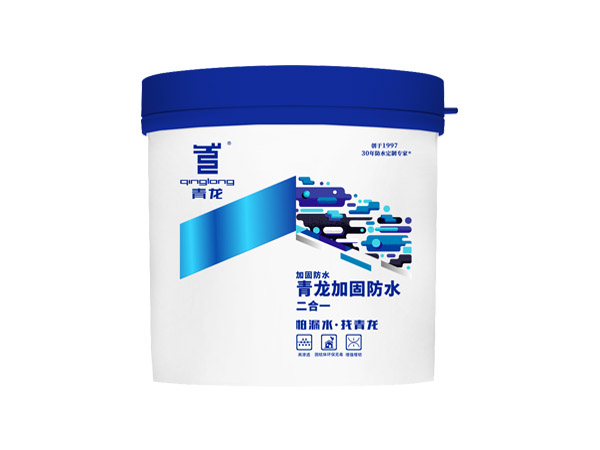
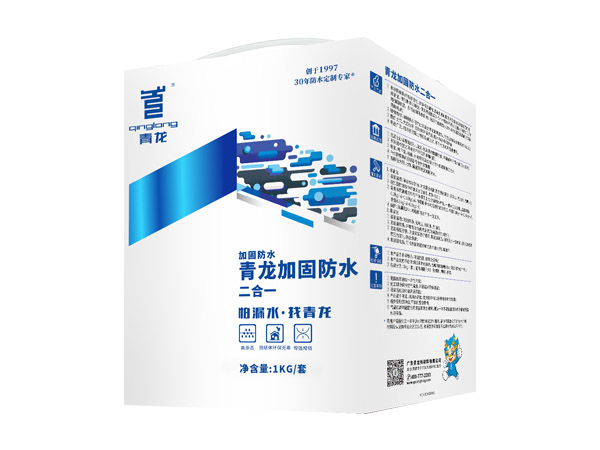
- Introduction:QL- 2 in 1 Reinforced Waterproof Coating is a high-permeability and reinforced waterproof coating. It is mainly formed by contacting epoxy resin with an accelerator and a curing agent.
- Product Features:
1. The liquid material has high permeability. After applying it on concretes or mortars, it will flow along and fill the capillary channels and micro-pores of the base surface, forming a 2~5mm impervious, hydrophobic and uneven reinforcement layer to achieve waterproofing results. Common waterproof coatings peel off easily on concrete surfaces, but this product is a perfect solution to that problem.
2. Strengthening and toughening, applying this product can prevent the concrete surfaces from dusting, and the concrete strength will increase by more than 15%.
3. Excellent performance-price ratio; wet surface application, no need to level this surface, the dry solid content is non-toxic. The waterproof protective seal can last as long as the structure.
4. Wide range of uses. It can be used for grouting of fine cracks in concretes and surface treatment of different materials.
- Application Range:
1. Dusting and flaking on concrete mortar, reinforcement and waterproofing. It is especially suitable for waterproofing of surfaces not in contact to water.
2. Reinforcement of weak bonding between different structural layers.
3. Concrete gap repair and grouting reinforcement for roofing, basement, wall and pool.
4. Anti-seepage and reinforcement of joints between PVC pipes.
5. Plugging and reinforcement and waterproofing of various dams, subways, tunnels, etc.
- Application Methods
Brushing Methods
1. Cleaning of the base surface: Remove loose parts, clean the surface of the concrete structure to ensure that it is free of dust, oil and water.
2. Add curing agent to the reinforced waterproof sealant and mix well.
3. Use a roller or brush to evenly paint the product on a clean surface. Generally, it is applied twice. The quantity used for the bottom layer is 0.2kg/ m²~ 0.35kg/ m². After the first layer is solidified for half an hour, apply the second layer. The quantity used is 0.1. Kg/ m² ~ 0.25kg/ m², total quantity used is 0.3kg/ m² ~ 0.6kg/㎡;
4. Protection: The next step can be carried out after 24 hours of painting.
Grouting Methods
1. Cleaning the base surface: Ensure that it is free of dust, water and oil;
2. Fix the grouting nozzle in place and seal the gap with QL- Fast Leakage Fix (quick-setting);
3. Fix the high-pressure hose in place and use a pump for grouting. After the slurry is filled, keep the pressure for a certain period of time, pay close attention to the change of the grouting pressure and prevent the hose from bursting.
4. After the slurry is solidified, remove excessive grout and seal the opening for inserting the nozzle with mortar.
Recommended Tools:
Brush, spatula, float trowel, electronic mixer, mixing bucket.
Technical Specifications:
| Experimental Project | 1 Type Curing Function | |
| (MPa) Tensile Strength | ≥10 | |
| Adhesion Strength | Mpa Dry Adhesion | ≥3.0 |
| (ª/Mpa) Wet Adhesion | ≥2.0 | |
| (Mpa) Impermeability | ≥1.0 | |
| Experimental Project | Slurry Function | ||
| L Low Viscosity Type | N Normal Type | ||
| Efficacy time (min) | >30 | >30 | |
| Note: The efficacy time refers to the interval time when the mixture of A and B components reaches 200mpa.s of viscosity. | |||


