In the realm of daily living, the persistent challenge of roof leaks in residential buildings continues to disrupt our comfort and jeopardize the overall well-being of our homes. Beyond the immediate inconvenience, there is a critical concern regarding the potential impact on the longevity of the structure.
Dormitory Roof Leakage
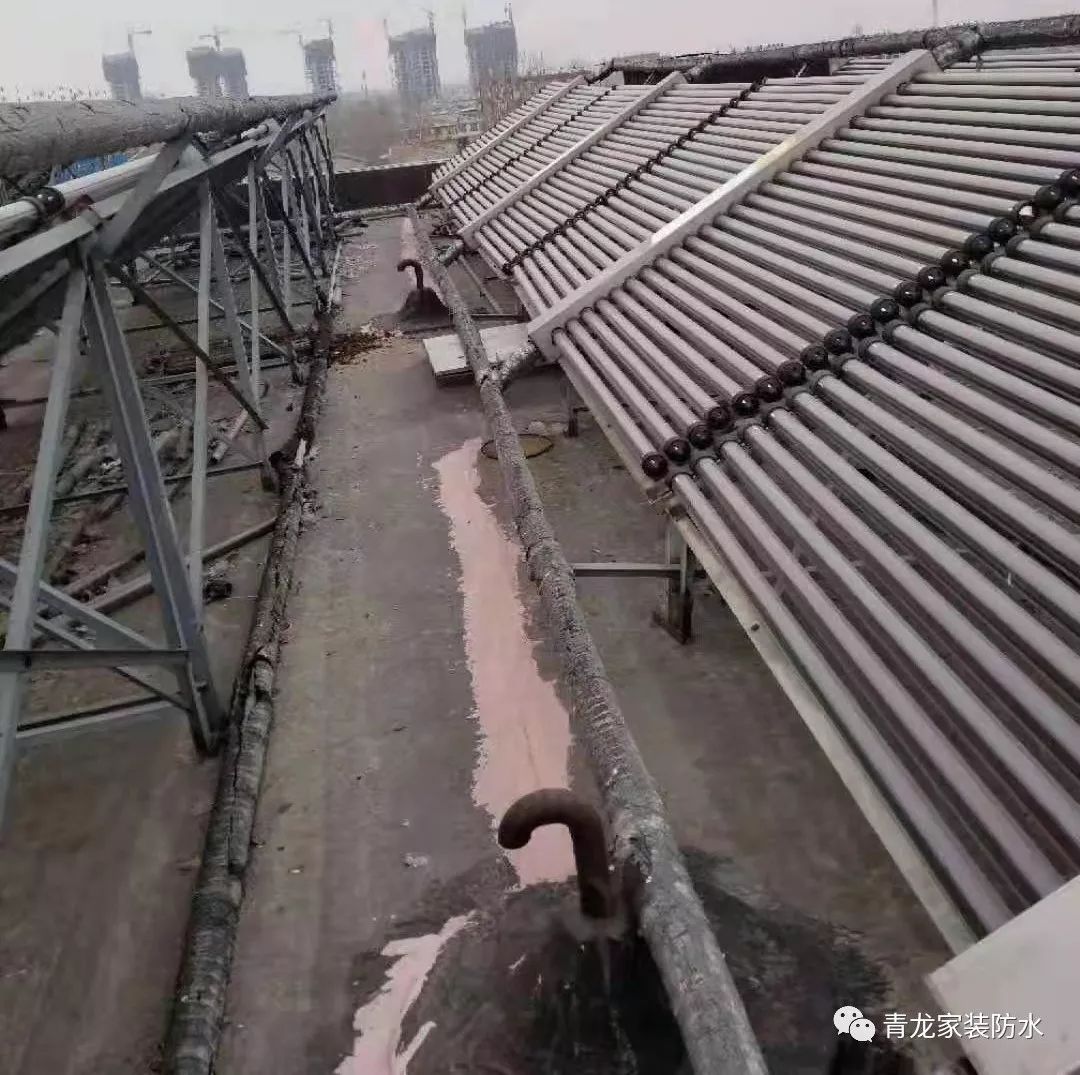
Leak Analysis:
The school dormitory spans an area of around 1300 square meters, experiencing leaks caused by cracks in the roof structure. With solar panels installed on top, the question arises: How can repairs be carried out, and what materials are best suited for effective patching?
Recommended Approach:
For a comprehensive waterproofing refurbishment, the process involves removing the existing waterproofing layer, cleaning down to the structural layer, and then reapplying a coating of elastic waterproof sealant along with household rolls.
Daughter Wall Corner Leaks
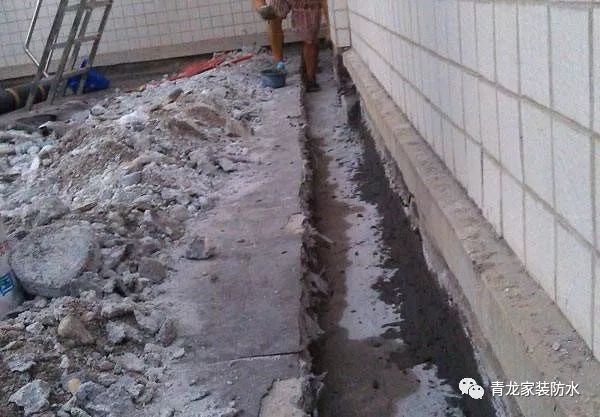
Leak analysis:
Leaks are occurring at the inner corners of the daughter wall due to uneven settlement or inadequate structural layer density.
Suggested approach:
Chisel down to the structural floor layer, meticulously smooth and clean the area to ensure a dry base, and reinforce with a Two-in-One or No.2 coating. This process involves the use of insulation paper, all-purpose adhesive, or elastic adhesive, followed by backfilling to restore the original condition.
Leakage in the Junction of New and Old Floor Slabs
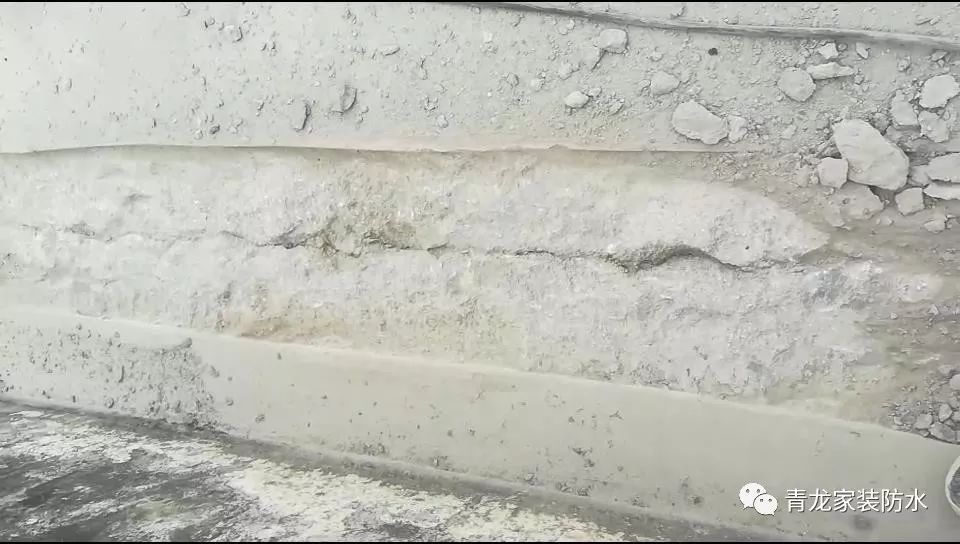
Leak Analysis:
Water is infiltrating through a crack between the old and new floor slabs.
Suggested Approach:
Chisel the crack into a V-groove and apply a layer of multi-purpose glue. Employ the zero-displacement principle by affixing isolation paper in the middle and subsequently administering a thorough coating of multi-purpose waterproof glue.
Leakage in Newly Poured Floor Cracks
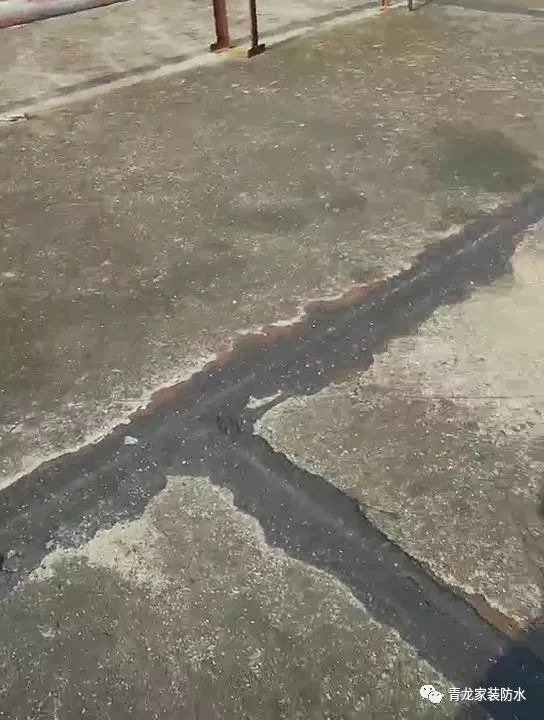
Leak Analysis:
Water is seeping through cracks in a recently poured floor, and the initial asphalt repair of the waterproof layer has lost its effectiveness. What is the suggested waterproofing remedy?
Suggested Approach:
Chisel open the crack, conduct a thorough cleaning, and proceed with the repair. Apply a two-in-one coating (omitting if the base is in satisfactory condition) and cover both sides of the broad crack with a 10 cm layer of all-purpose glue.
Additionally, a holistic approach is more effective: addressing cracks first, followed by using elastic waterproof adhesive along with household rolls, or directly applying wet-laid household rolls.
Leakage at the Intersection of the Floor Slab and Chimney
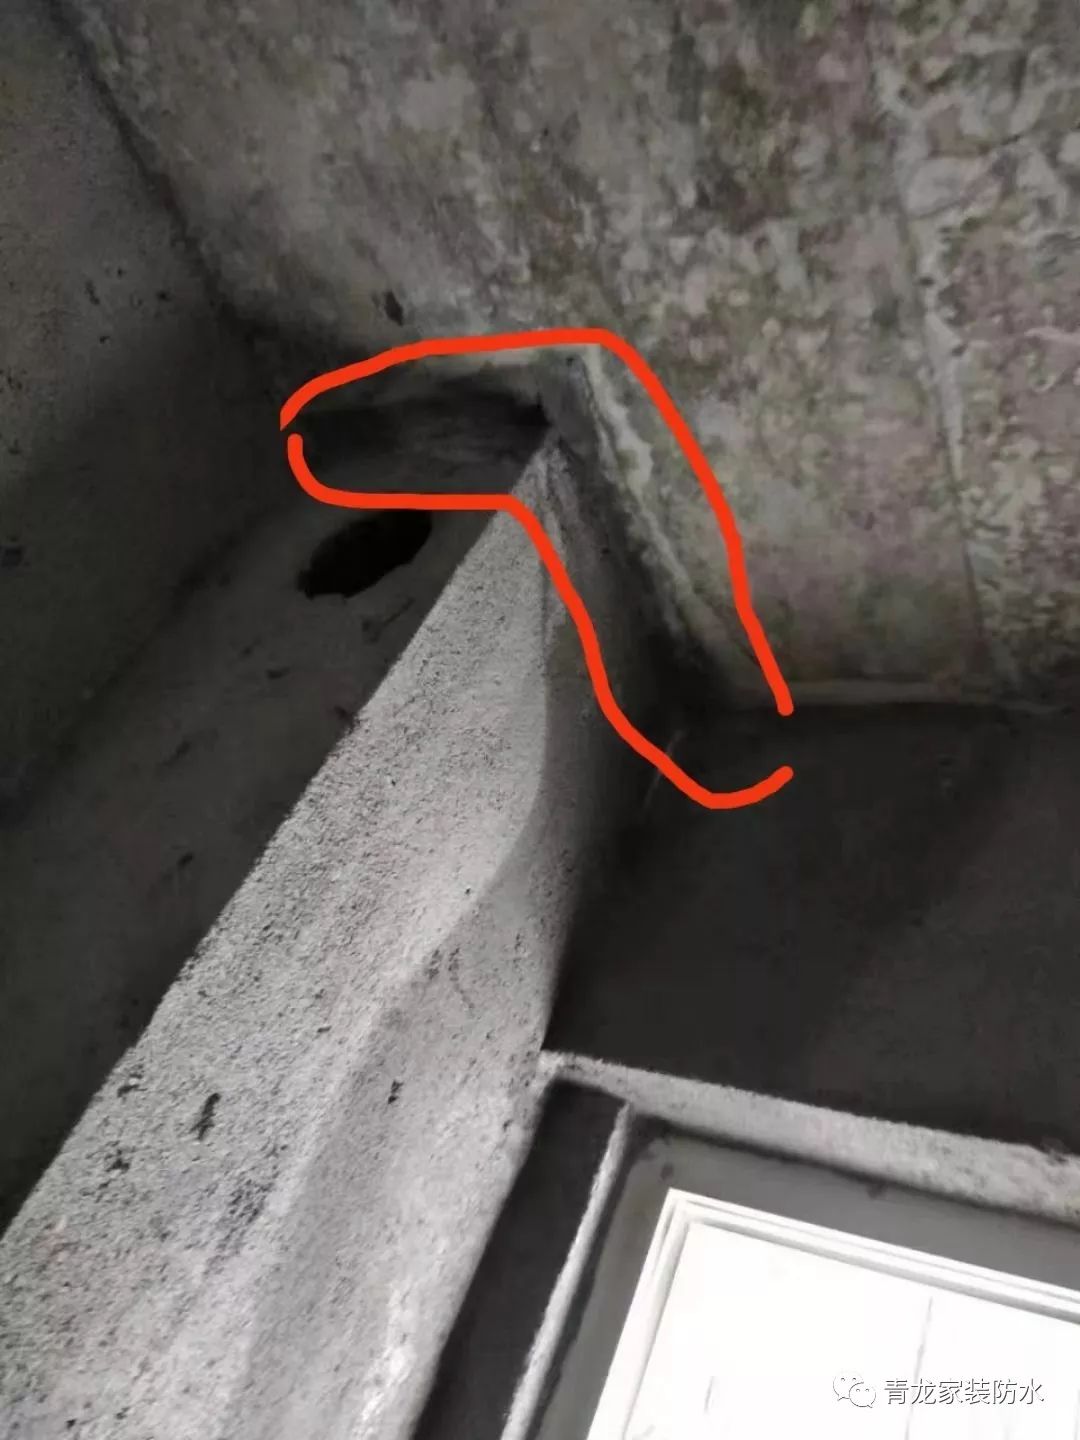
Leak Analysis:
Leakage at the juncture of the floor slab and chimney is a result of gaps. How can waterproofing be implemented on the rear surface?
Suggested Approach:
Chisel down to the chimney's structural layer, administer a two-in-one primer, soak non-woven fabric in all-purpose glue until semi-dry, firmly block the gap, seal the leak, and finally, coat the exterior with all-purpose waterproof glue.
Leaks with Old SBS Roll Material
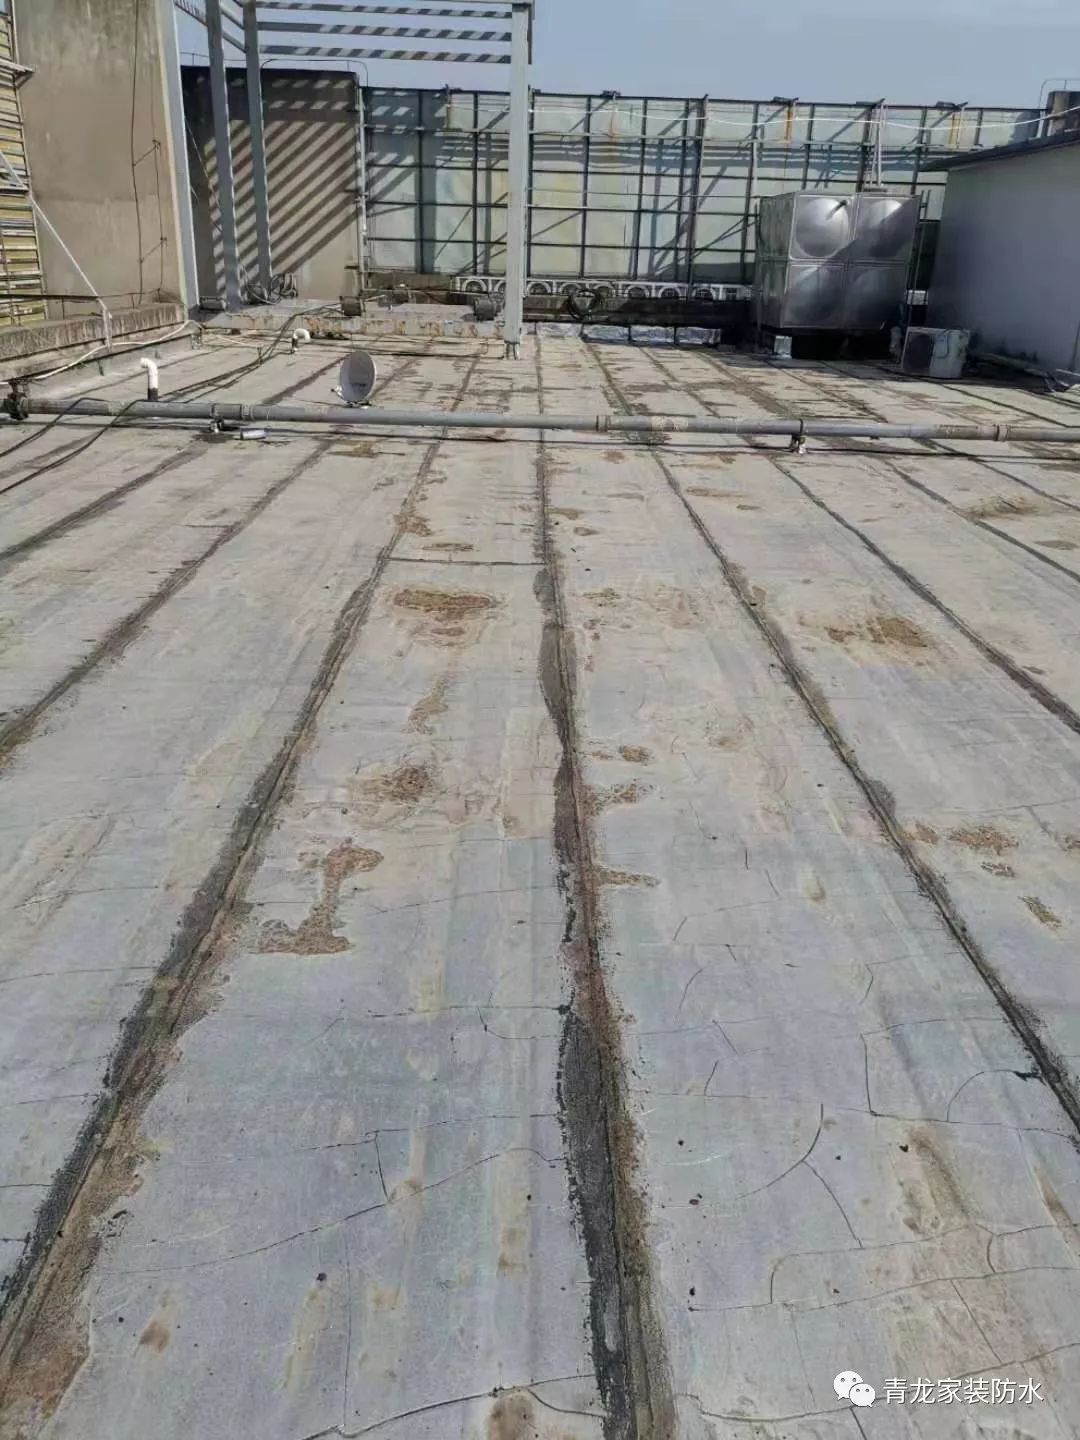
Leak Analysis:
A roof with previously installed SBS roll material is experiencing leaks due to the failure of the old waterproof layer. Should the old waterproof layer be removed during re-waterproofing?
Recommended Approach:
Locally repair if cracks or damage to the roll material can be found. In cases where issues are not detected, a comprehensive waterproofing solution is necessary. This could involve either reapplying the roll material or using elastic waterproof sealant (cutting off large hollow spaces, SBS melting, elastic glue, water testing, and recovery).
Ceiling Spot Leaks
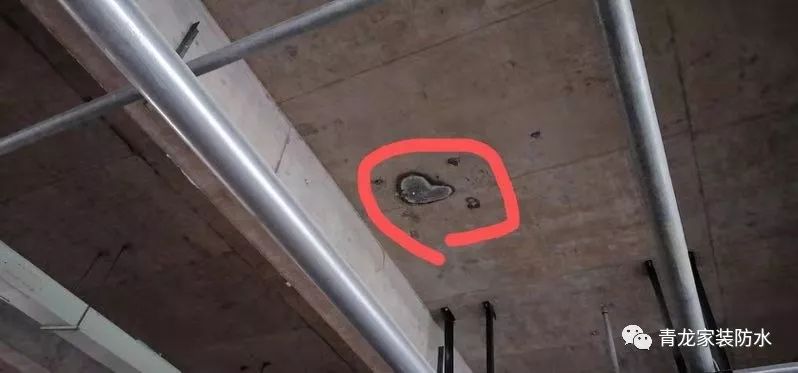
Leak analysis:
Localized cracks in the ceiling result in partial leaks. Can these be patched from behind?
Recommended Approach:
If treating from the backside, injection molding can be used for point leaks.
Leaky gutter
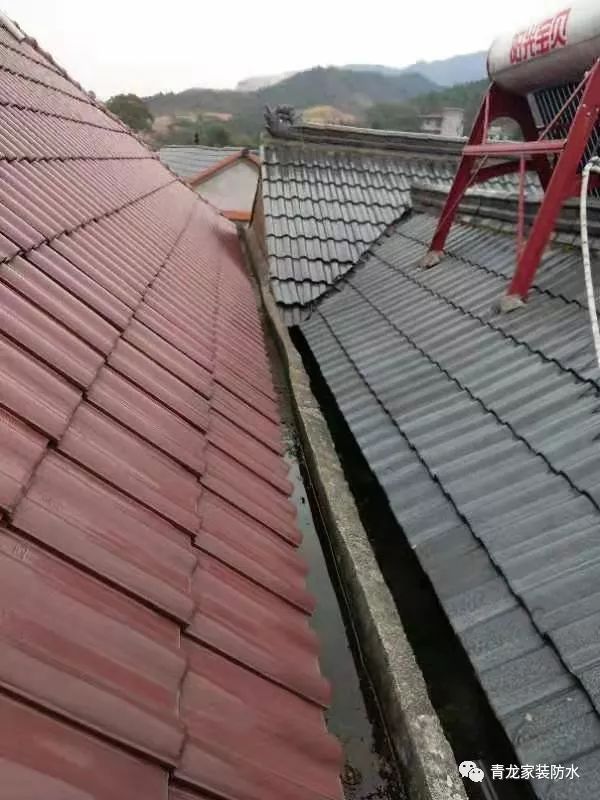
Leak analysis:
The shaded corners of the eaves gutter were poorly constructed, resulting in cracks that allow water to seep through and infiltrate the interior walls.
Recommended solution:
Start by draining the accumulated water and treating the base surface. Apply a coating with double reinforcement to the base, followed by an all-over waterproofing adhesive to the surface. Shape the shady corners into a rounded arc.
Tiled Roof Water Infiltration
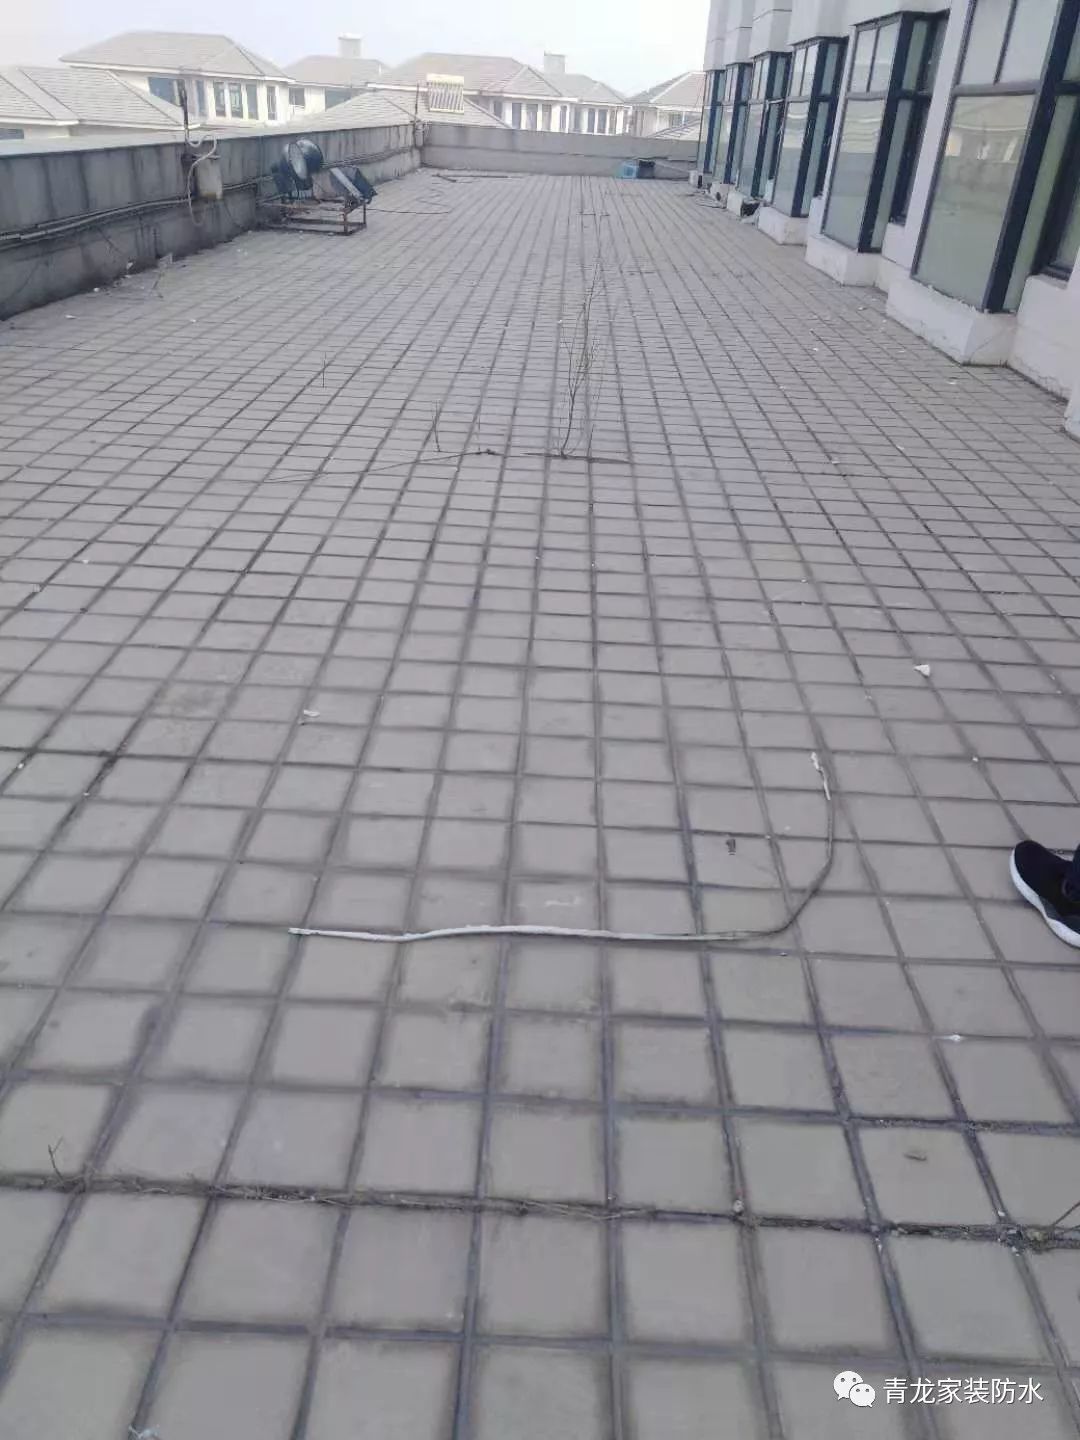
Leakage analysis:
The structural layers of the tiled roof have developed cracks, allowing water to seep through the tile gaps, causing leaks.
Recommended solution:
Remove the tiles and clean down to the structural layer. Repair any depressions, cracks or defects using either flexible waterproofing adhesive or universal waterproofing adhesive. Household coil material is also an option. Alternatively, apply a composite waterproofing application (flexible adhesive + coil material). After waterproofing, restore the surface layer.
If working directly on the tiles, ensure a clean substrate, treat the joints first and then apply the flexible adhesive + coil material. Ensure proper integration with the original waterproofing layer on the wall. After waterproofing, apply a fine stone concrete protective layer.


